  ® ®
|
After the rebuild |
|
Okay, you were bold and daring and sent your carburetors off to who-knows-where to have them cleaned and rebuilt. You exercized due diligence by seeking out and vetting the vendor as best you could, and you waited it out, hoping everything would turn out okay, actually better than okay. And thankfully, you got the carbs back and whoa!, they look fantastic! You're pumped, you're excited about getting the machine working good again. The sun is shining, and you can't wait. Now what?
Do yourself a huge favor. Don't, after going to all this trouble and doing this out-of-box thing that you did, don't simply throw those carbs back on the bike and turn the key on. No way. There are a handful of things you absolutely must make sure of, whatever the symptoms or even non-symptoms you had before sending your carbs out, and no matter what process you used to decide on the carbs needing work. Here are an even dozen reminders.
1) Search out a source of either Sta-Bil fuel stabilizer or low priced, low-octane race gas and commit, right now, to using one of these solutions fulltime. Yes, year-round. This is what museum curators and managers do, and now, with gas no longer being friendly to carburetors, you must do also. Fuel starts gelling now in just a few weeks time, so be proactive and no matter what your riding frequency, keep your gas stabilized all the time.
3) Don't this late in the program change your mind about the specifications of your engine. If you told your carburetor rebuilder such and such an exhaust, and such and such an air filter configuration, it is too late now to alter the plan. Doing so will change the magic. Even deciding to leave the lid off the airbox is a major change to a carburetor. Ditto for going to a K&N type replacement filter cartridge from the stock one. Moreover, going from stock to individual ("pod") air filters is comparitively a huge change, requiring in some bikes that their main jets be increased 10 sizes! Yes, 10! You can't blame the carburetor rebuilder when the his work doesn't perform its best when you make changes to the engine after the fact.
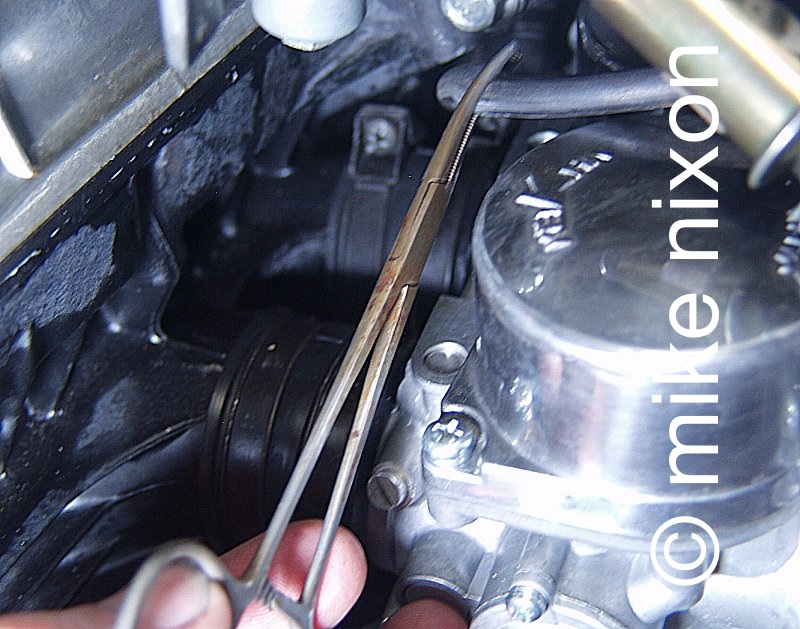
4) When installing your carburetors, take special care to not do one thing, and be sure to do another. Don't pound or hammer on your carbs, no matter how tough getting them into the rubber manifolds seems to be. Use a heat gun and you'll be surprised at how much more compliant those manifolds become. Do install the cables carefully. The throttle cables require a certain amount of slack when the bars are turned lock to lock (stop to stop). The choke cable is a special concern and an area many get tripped up on. On many 80s Keihin carbs the choke is tied to a mechanical fast idle cam and getting the choke cable on wrong can affect the fast idle without affecting the choke, throwing the carbs into an uncontrollable midrange rpm despite the idle speed screw being backed all the way out. Watch out for this.
5) Speaking of the rubber manifolds, make sure they are intact, with no cracks, and no splits. Look closely at the clamps. If the clamps are more or less tightened as far as they will go, this means the manifolds are toast and need to be replaced. If your bike is one of those (Kawasakis, early Honda fours) whose manifolds bolt onto the head, sealing with either gaskets or o-rings, you absolutely must replace either gasket or o-ring and be sure to put a light sealer on the gasket, on those manifolds that have paper gaskets.
6) You should have done a compression test before sending your carbs off. If not, do it now. And don't talk about compression being "okay." "Okay" is not a compression value. Get numbers. If any one of the readings is below 150 psi it is imperative that you find out why. Do this by performing a leakdown test. Do all the cylinders, one at a time. The cylinders that indicated low compression will reveal higher than normal cylinder leakdown, that is, above 10 percent. While the air is flowing, listen at the three places: airbox intake, exhaust muffler, and crankcase (by removing the oil dipstick). Air sounds at intake or exhaust point to valve issues. The same sound at the dipstick hole to ring and cylinder problems. The valve issues may and usually are as simple as the valves being too tight, something that is so common every career mechanic could write a book on it. Loosen the valves that are in trouble and retest leakdown. If no improvement, a special technique is needed. With the leakdown tester still connected, gently tap on the valve while watching the leakdown gauge. If tapping on the valve makes the leakdown go down, good. This means it is only carbon causing the leakdown and this will improve with engine operation. If tapping does not improve the leakdown, and you're sure there is adequate clearance at the valve, then the cylinder head has to come off. No two ways about it. One more thing. Don't believe it when someone tells you a newly-assembled engine can expect to initially have lower than normal compression and/or higher than normal cylinder leakdown. It just isn't so. A properly assembled engine will have the highest cylinder compression and lowest cylinder leakdown before it is ever run. It will never get better, and anyone that tells you this is not telling you the truth. There is definitely such a thing as break-in, but not in the area of cylinders and valves, not if the builder used proper engine rebuild techniques.
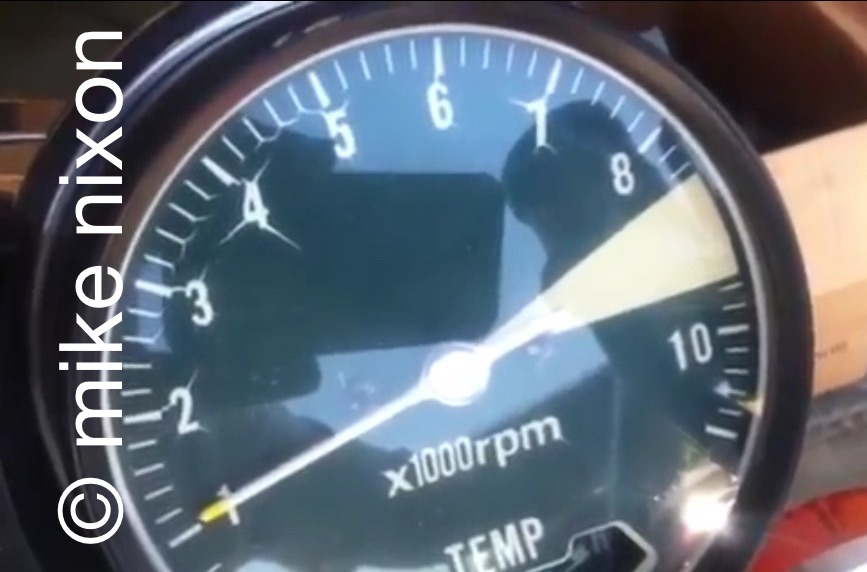
7) If I did them, your carbs have been carefully bench throttle synced, and if the engine is sound, that is, everything what it should be (see #6 above), then the bench sync will match the engine. In the odd case, the carbs may benefit from a running sync, but I try hard to make it not necessary. If the carbs require more than a slight tweak, either I did a lousy job of bench syncing them, or you have some issues with your engine and you need to get after them. Unequal cylinder sealing (compression) is almost a given in this case, for example.
8) Speaking of engine issues, 30 to 40 year old bikes are prone to having many, and on top of this, some brands and models came with issues built in from the factory. Early carbureted Honda DOHC fours for example have design faults that result in valve sealing issues. I have written elsewhere on this, please take a moment to review that article. A dozen things may need attending to on your engine and you may not even be aware of it. Plug wires may be corroded or broken (internally, inside the insulation), plug caps loose (Japanese caps screw on) or high resistance due to age (most 70s-80s caps should be 15K ohms or less, earlier ones one third to half that). You may have cracks in the ignition coils, bad coils, or bad parts in the ignition system. One thing I find quite often is that on old points type bikes no one seems to know how to adjust/time these systems adequately. Just as a cylinder compression test is never "good" and must be accompanied by a number, so ignition timing can never be judged "good" but must be analyzed with a strobe type timing light, at both idle and full advance rpm (usually 2,500 to 3,000 rpm). When it comes to points systems, these two timing checks are many times more important than point gap (or dwell).
9) Carburetors have support systems that can give trouble. This means everything from the gas cap which must vent, to the tank which must not have either rust or a loose and floating plastic liner, to the petcock which must flow correctly and adequately, to the fuel lines which must not be kinked, to the inline fuel filter(s) which must be large enough to flow correctly, to float bowl vent hoses which must not be pinched or blocked, to fuel pumps, vaccum fuel valves, evaporative emissions system cannisters which must be connected properly and not fuel-flooded, and more.
10) Exhaust systems don't make as much of an impact on carburetion on vintage Japanese motorcycles as most folks think. Because 70s through 80s Japanese four cylinder bikes have camshafts that so strangle their engines that no amount of exhaust tuning is possible, only two things really change carburetion when speaking of the exhaust: too little back pressure and too much. Usually it is kind of difficult and unusual to encounter either one of these. Most folks don't. But it can happen. Homemade exhausts especially are susceptible. Too little back pressure will mean added flow which will make demands on carburetion. I usually tell folks that 1 1/2" is the dividing line. A baffle up to 1 1/2" in diameter is going to mean an exhaust with near-stock back pressure. Over that and things start happening to carburetion, not to mention acceptable sound levels. Too much back pressure usually comes from folks building their own systems from mixing parts or outright "rolling their own" exhausts, sometimes with disastrous consequences because unwise choices of baffling methods are employed, strangling the engine. An engine with too much exhaust back pressure will seem like a carburetion issue but it won't be. No amount of adjustment or jetting or cleaning or rebuilding of the carbs is going to fix an engine that has a potato stuck in its exhaust.
11) Another thing. If you do not experience expected fuel mileage (fuel economy) there are several possible reasons. The short of it is a lot goes into fuel economy and this is why no hard and fast rules can be made about it, not by individuals and not even by the manufacturers of the vehicles. Naturally, if before the carb rebuild you were getting one level of economy and afterward a drastically different one, and you made no other changes, then this is a legitimate concern. I have an article on this subject on my website, so check it out.
12) Lastly, I am here for you. If you meet roadblocks, use me as a resource. Usually, I can help. But don't expect any silver bullets. And don't expect me to rely on other methodologies than those I have aleady outlined here. There will be work in troubleshooting, and many folks don't like that. The answer will not fall out of the sky. You'll need to be methodical, even scientific, not science fictional. But with help you can do it.
Summary Suggested reading: |

|
Last updated January 2026 Email me www.motorcycleproject.com My bio © 1996-2026 Mike Nixon |